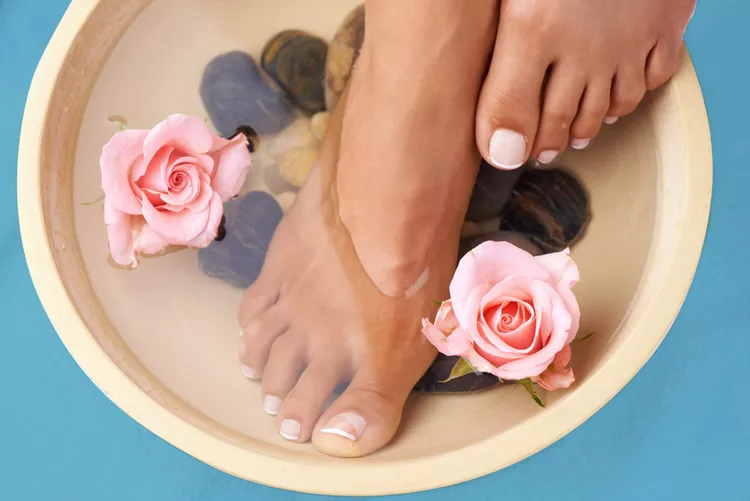
Are you tired of spending hours in a salon, waiting for your turn to get a pedicure? Do you dread the thought of spending a fortune on professional pedicures every few weeks? If you answered yes to any of these questions, then this blog post is perfect for you! We are thrilled to introduce you to the world of salon pedicures at home! Yes, you heard it right! You can now pamper your feet with a luxurious pedicure from the comfort of your own home. We have put together a comprehensive guide on how you can achieve salon-worthy pedicures without breaking the bank or leaving your house. Say goodbye to long waiting times and expensive salon visits, and get ready to indulge in a relaxing spa-like experience right at home! So, let’s dive right in and discover the secrets to achieving the perfect pedicure at home!
Step #1. Soak your foot in a warm water
First prepare a warm water as you prefer in a foot tub or a foot spa massager. Put some foot soak salt in it and get your foot in. Soak your feet for at least 3 minutes. This first step will prep your foot for the coming steps.


Step #2. Scrub
Then using your preferred foot or body scrub, start scrubbing your foot using an exfoliating mitt. This process will exfoliate the dead skin from your foot leaving your feet feeling so much clean and smooth. Remember, pedicure is not only about applying nail polish on your nails rather treating your foot with all the treatment and care it deserves.


Step #3. Callus Removal
Now as your feet is clean and moist we will remove the callus from our heels and back of our toe fingers using callus remover. But don’t get carried out and remove a lot as your feet will get really sensitive if you do so. You can either use an electric callus remover or a manual callus remover.


Step #4. Clean Old Nail Polish
Now as your feet has been cleaned properly, it’s time to focus on the nails. Clean any old nail polish from your toe nails. Use acetone free nail polish remover not dry out your nails and cuticles. If you had a gel nail polish previously use a gel remover.


Step #5. Clip, File and Buff
Clip your toe nails to your desired length, preferably shorter for your toes as it might get uncomfortable to wear closed shoe. But don’t cut it way too short. then file the edge of your nails. Now, buff your nails to smooth out any ridges. Be careful with your nails not to buff too much. A good heads up is not to buff more than 6 strokes per nail.


Step #6. Push back cuticles and cut off excess
By now, your cuticles are quite manageable. So, push back the cuticles gently in each toe. then cut off the excess skin around your toes but don’t cut too much. Be very gentle. Then take your time to also clean any dirt that might get in your nails.

Step #7. Moisturize and Mini-Pedicure Massage
In this step use your favourite mositurizer or our suggested foot cream and give your self a little mini-pedi massage while applying the moisturizer all over your feet. This should feel so much relaxing and soothing for your feet. It cant get any better than this

Step #8. Base Coat
remove any moisurizer residue from the nails once again with your nail polish remover first. Now apply the base coat on your nails and let it dry for 2 minutes.

Step#9. Nail Polish (Twice)
Apply your desired nail polish now. always remember that applying 3 rounds of thin layer of nail polish is better than 2 rounds of thick nail polish because it will look much more cleaner with thinner layers. For every round of applying nail polish, dry your nails for at least 2 minutes.

Step #10. Top Coat
Now apply a thin layer of a top coat to give your nails a great shine and polished finish. This step will brighten and give the nail polish you applied a glossy look.

Step #11. Clean up
Finally clean up any excess nail polish from the corners of your toe nails. You can use a nail polish remover pen. I hope this was a satisfying and relaxing pedicure right at the comfort of your home.

Also Check out: How to give your self a professional looking Manicure at home